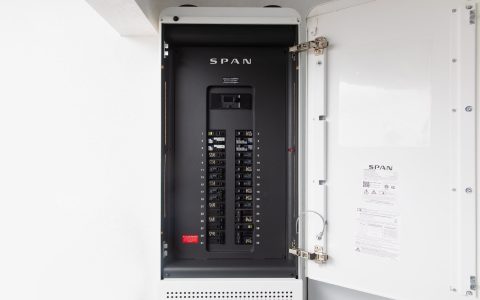
A breaker box diagram, also known as a panel schedule or circuit directory, is a crucial map that identifies which circuit breaker in your electrical panel controls specific outlets, lights, appliances, or areas of a building. It is typically found on the inside of the panel door.
Importance of an Accurate Breaker Box Diagram
An accurate and legible diagram is essential for several reasons:
- Safety: In an emergency, such as an electrical fire or when someone is receiving an electrical shock, a clear diagram allows for the rapid shutdown of the correct circuit, potentially preventing injury or further damage.
- Troubleshooting: When a circuit trips or an electrical issue arises, the diagram helps quickly identify the affected area, streamlining the diagnostic process.
- Maintenance and Repairs: For any electrical work, from replacing a light fixture to installing a new appliance, the diagram ensures you can safely de-energize the specific circuit you'll be working on without disrupting power to the entire property.
- Convenience: It allows for easy identification of circuits for planned power-offs, such as during renovations or when leaving a property vacant for an extended period.
Key Information on a Breaker Box Diagram
A functional breaker box diagram should clearly list:

- Breaker Number/Position: Each breaker in the panel is typically numbered or has a designated slot.
- Circuit Description: A specific description of what each breaker controls. For example, "Kitchen Outlets," "Master Bedroom Lights," "Air Conditioner," "Dishwasher."
- Amperage (Optional but helpful): The amperage rating of each breaker (e.g., 15A, 20A, 30A).
- Main Breaker Identification: Clearly indicating the main breaker that shuts off all power to the panel.
Creating or Updating Your Breaker Box Diagram
If your panel lacks a diagram or it's inaccurate, creating one is a worthwhile task. This process typically involves:
- Preparation: Have a notepad, pen, and optionally, a small lamp or circuit tester. A two-person team can make this process faster and easier.
- Systematic Testing:
- Turn off one breaker at a time (excluding the main breaker unless specifically testing it last with caution).
- Identify which lights, outlets, or appliances have lost power. Test all outlets in each room.
- Record this information clearly on your notepad next to the corresponding breaker number. Be specific (e.g., "Living Room Outlets - North Wall" rather than just "Living Room").
- Turn the breaker back on before moving to the next one.
- Labeling the Panel: Once all circuits are identified, transfer the information neatly onto the panel's directory card or a new label sheet. Use clear, legible handwriting or printed labels.
Safety Note: Always exercise caution when working near an electrical panel. Ensure the area is dry. If you are uncomfortable or unsure about any aspect of this process, consult a qualified electrician.
Maintaining Your Diagram
- Update Immediately: After any electrical work, additions, or changes to your home's wiring, update the diagram to reflect these modifications.
- Keep it Legible: Ensure the diagram remains clean and easy to read. Replace it if it becomes damaged or illegible.
- Accessibility: Keep the diagram affixed to the panel door or in a readily accessible location nearby. Consider keeping a digital copy as a backup.
A well-maintained breaker box diagram is a simple yet vital tool for managing your electrical system safely and efficiently.