Preparation is Key
Before starting, ensure the radiator is completely cold and turned off. Proper preparation is crucial for a durable and smooth finish.
- Clean Thoroughly: Use a sugar soap solution or a degreasing cleaner to remove all dust, grease, and grime. Rinse and allow to dry completely.
- Sand the Surface: Lightly sand the radiator to create a key for the primer and paint. If there's rust or flaking paint, remove it with a wire brush or sandpaper, then sand smooth. Wipe away all sanding dust with a tack cloth or a damp cloth.
- Protect Surroundings: Lay down dust sheets or newspaper to protect the floor and surrounding areas. Use masking tape to cover valves, pipes, and any wall areas you don't want painted.
Priming the Surface
Priming helps the paint adhere better, provides a more uniform finish, and can prevent rust.
- Choose the Right Primer: Use a specialist metal primer. If you've removed rust, an anti-rust primer is recommended.
- Apply Primer: Apply a thin, even coat of primer using a brush suitable for the radiator's design (an angled brush can be helpful for intricate areas). Follow the manufacturer's instructions for application and drying times. Ensure good ventilation.
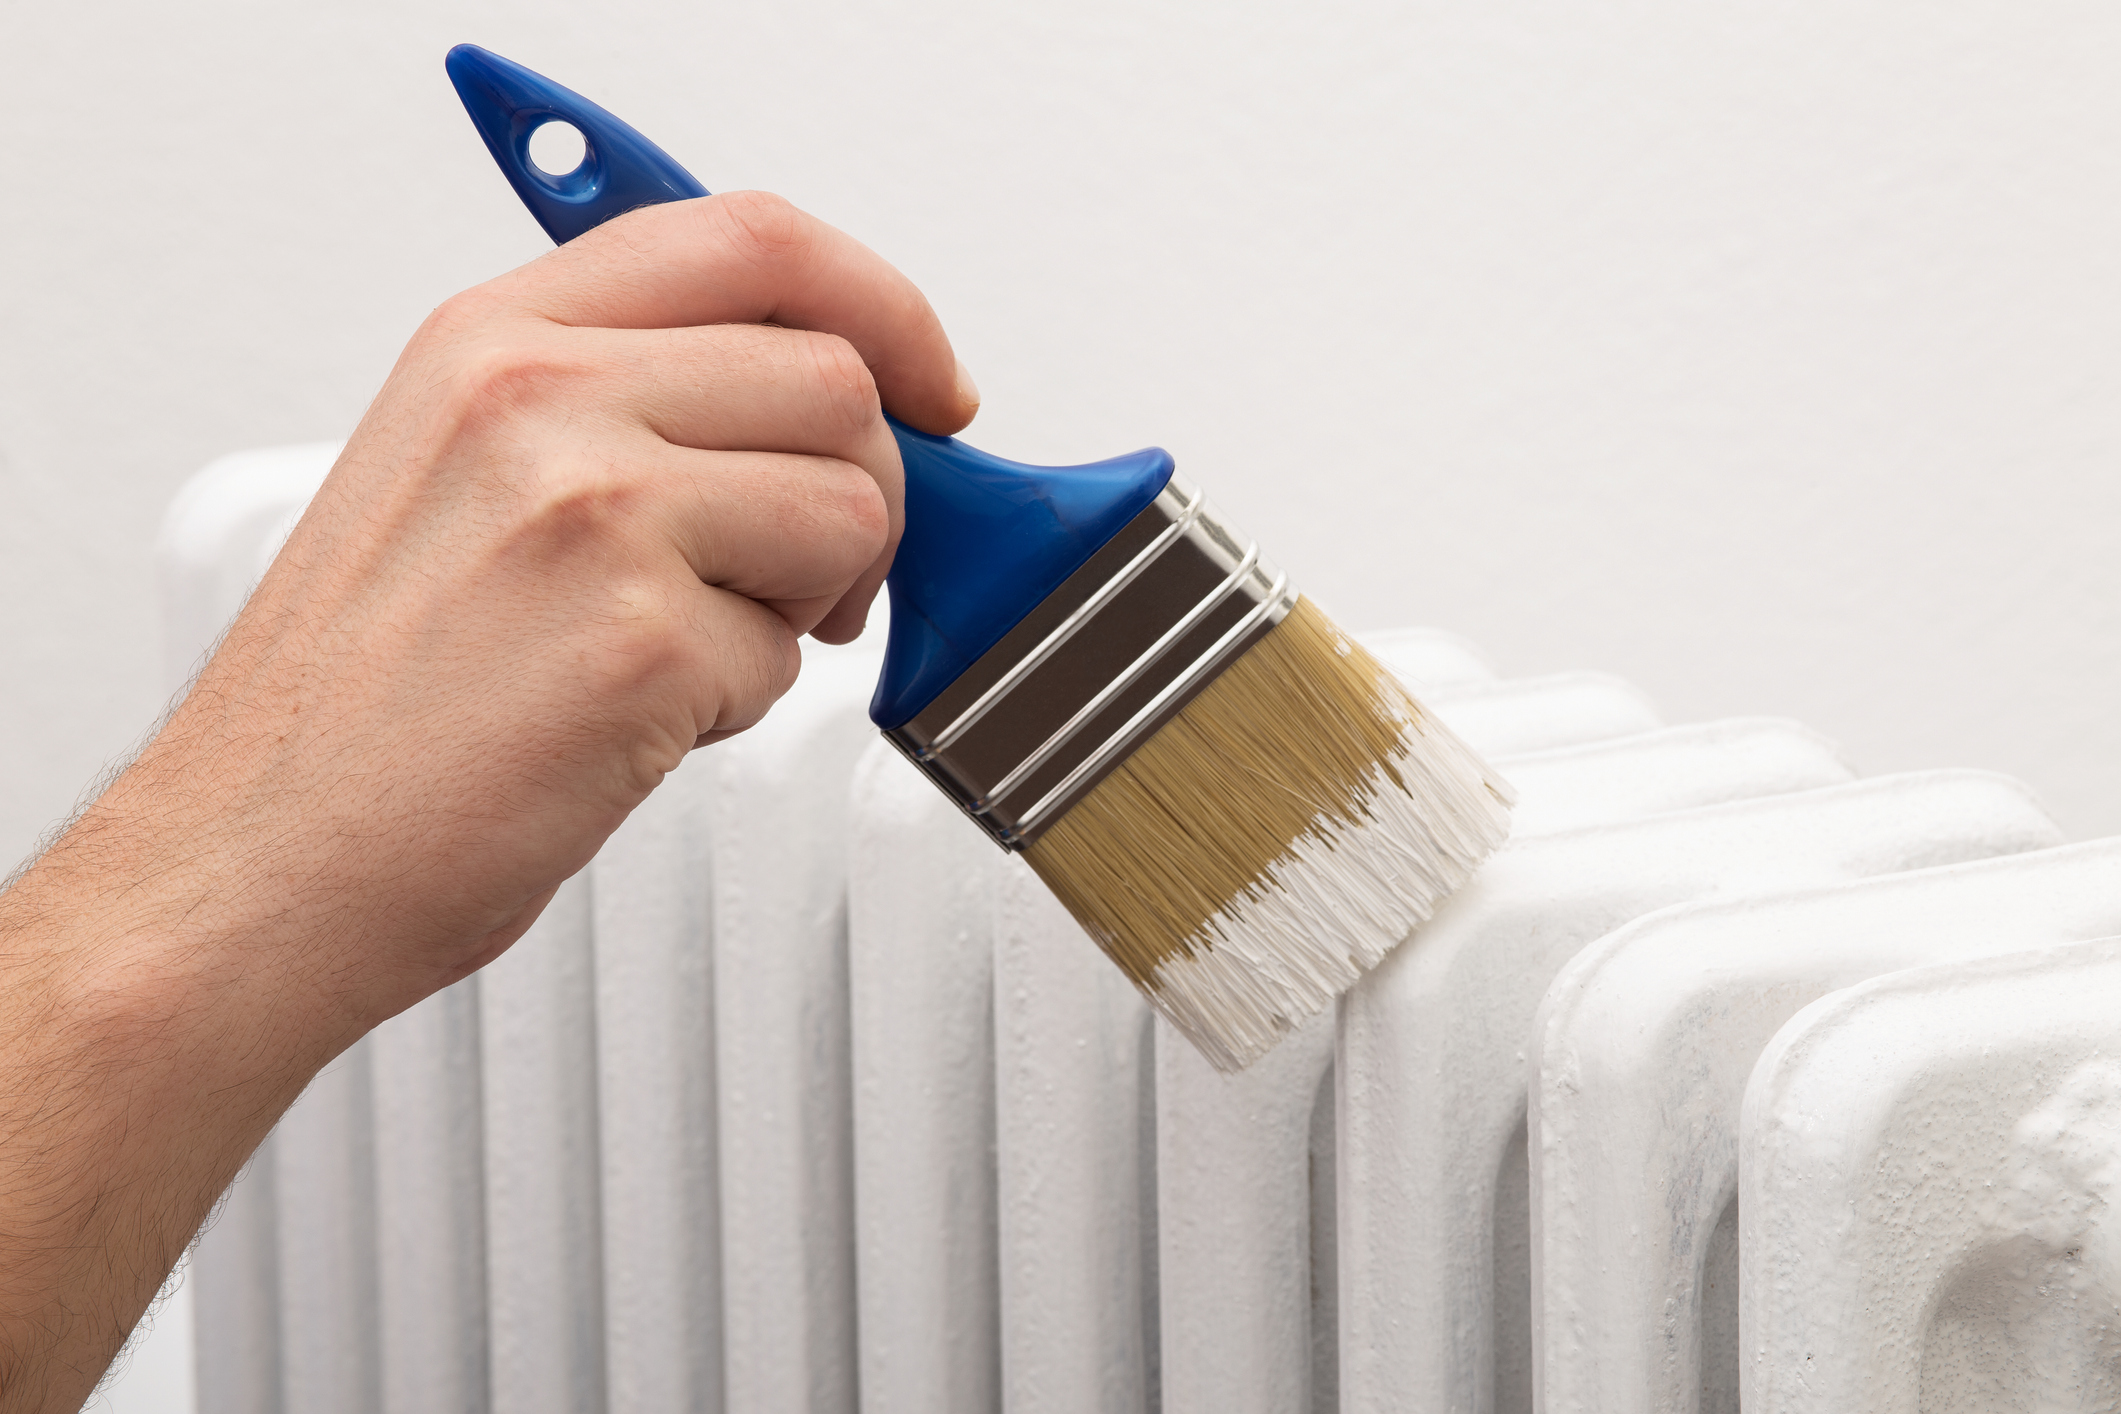
Applying the Paint
Using the correct paint and application technique will ensure a long-lasting, professional look.
- Select Radiator Paint: Use a paint specifically designed for radiators. These are heat-resistant and formulated to prevent yellowing. Options include solvent-based or water-based radiator enamels, or specialist radiator spray paint.
- Application Technique:
Brushing: Apply thin, even coats. Start at the top and work your way down, painting section by section. Use long, smooth strokes. For intricate or hard-to-reach areas, use a smaller, angled radiator brush.
Spraying: If using spray paint, ensure excellent ventilation and wear a mask. Apply several light, sweeping coats rather than one heavy coat to avoid drips. Hold the can at the distance recommended by the manufacturer.
- Multiple Coats: Two thin coats of paint are generally better than one thick coat for coverage and durability. Allow the first coat to dry completely according to the manufacturer's instructions before applying the second. Lightly sand between coats if recommended by the paint manufacturer, wiping away dust afterwards.
Curing and Finishing Touches
Proper drying and curing are essential for the paint's longevity.
- Drying Time: Allow the final coat to dry thoroughly as per the paint manufacturer's instructions. Some radiator paints require the radiator to be gently heated to fully cure the paint – check the product details.
- Ventilation: Maintain good ventilation in the room during the painting and drying process.
- Remove Masking: Carefully remove masking tape once the paint is touch-dry but before it has fully cured to get clean lines.
- Wait Before Full Use: Avoid placing items on or against the radiator until the paint has fully cured, which may take several days.