Understanding Pressure-Treated Lumber and Paint
Pressure-treated lumber (PTL) is saturated with chemical preservatives and moisture during its treatment process. Painting PTL prematurely traps this moisture, leading to poor paint adhesion, blistering, peeling, and premature coating failure. The wood must dry sufficiently before painting.
Drying times vary significantly based on the type of treatment, wood species, dimensions, climate, and storage conditions. This can range from a few weeks to several months, or even longer for denser woods or more humid environments.
Determining Readiness for Painting
The most reliable method to check if pressure-treated lumber is dry enough for painting is the water test (also known as the sprinkle test):
- Sprinkle a few drops of water onto the surface of the lumber.
- If the water beads up or sits on the surface, the wood is still too wet or may have residual water repellents from the treatment process. Painting is not yet advisable.
- If the water soaks into the wood within a few minutes, it generally indicates the wood is sufficiently dry and ready for surface preparation and painting.
Some modern PTL types are treated with processes that allow for quicker painting or staining. Always check manufacturer recommendations if available.
Essential Preparation Steps
Proper surface preparation is critical for achieving a durable and attractive paint finish on pressure-treated lumber.
- Cleaning: Thoroughly clean the wood to remove dirt, grime, mildew, and any mill glaze (a shiny surface that can occur during milling). Use a deck cleaner or a solution of mild detergent and water. For mildew, a diluted bleach solution (1 part bleach to 3 parts water) can be effective. Rinse thoroughly with clean water and allow the wood to dry completely, typically for at least 24-48 hours in good drying conditions. A power washer on a low-pressure setting can be used cautiously to avoid damaging the wood fibers.
- Sanding: Light sanding may be beneficial, especially if the wood surface is fuzzy, has splinters, or exhibits mill glaze. Use medium-grit sandpaper (e.g., 80-120 grit). This helps open the wood pores for better primer and paint adhesion. Always remove sanding dust with a tack cloth or vacuum before priming.
Selecting Compatible Primer and Paint
Choosing the right products is essential for longevity when painting pressure-treated wood.
- Primer: Always prime PTL before painting. A high-quality exterior wood primer is crucial.
- Alkyd (oil-based) primers are often recommended for their excellent adhesion to PTL and their ability to block stains from tannins and treatment chemicals.
- Latex (water-based) primers specifically formulated for exterior use on treated wood can also be effective, offering easier cleanup and lower VOCs. Ensure the primer is compatible with your chosen topcoat.
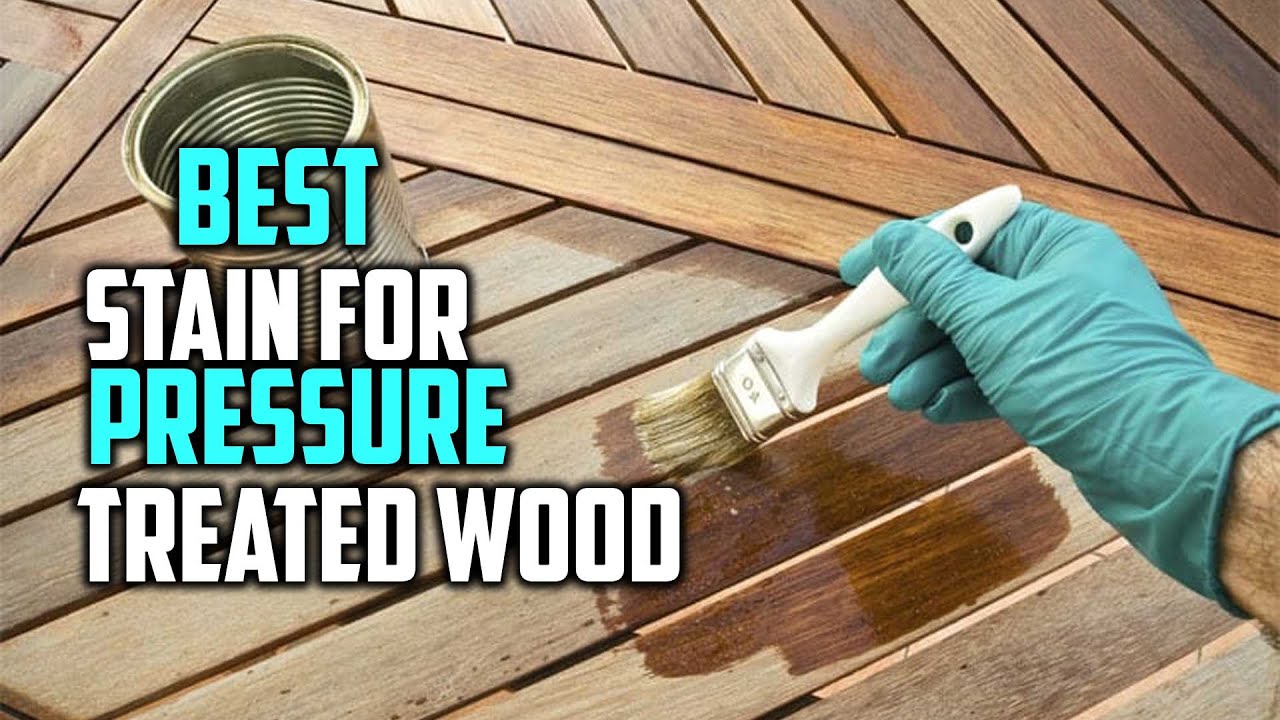
- Paint: High-quality 100% acrylic latex exterior paint is generally the best choice for a topcoat on pressure-treated lumber. Acrylic paints offer good flexibility, adhesion (over a proper primer), UV resistance, and breathability, which helps manage any minimal residual moisture. Two topcoats are typically recommended for optimal durability and color retention. Avoid low-quality paints.
Solid color stains are an alternative to paint, providing a similar opaque finish while potentially offering better penetration on some PTL.
Application Best Practices
Follow these guidelines for applying primer and paint:
- Weather Conditions: Apply primer and paint in suitable weather. Ideal temperatures are generally between 50°F (10°C) and 90°F (32°C). Avoid painting in direct, intense sunlight, high humidity, or if rain is expected within 24-48 hours.
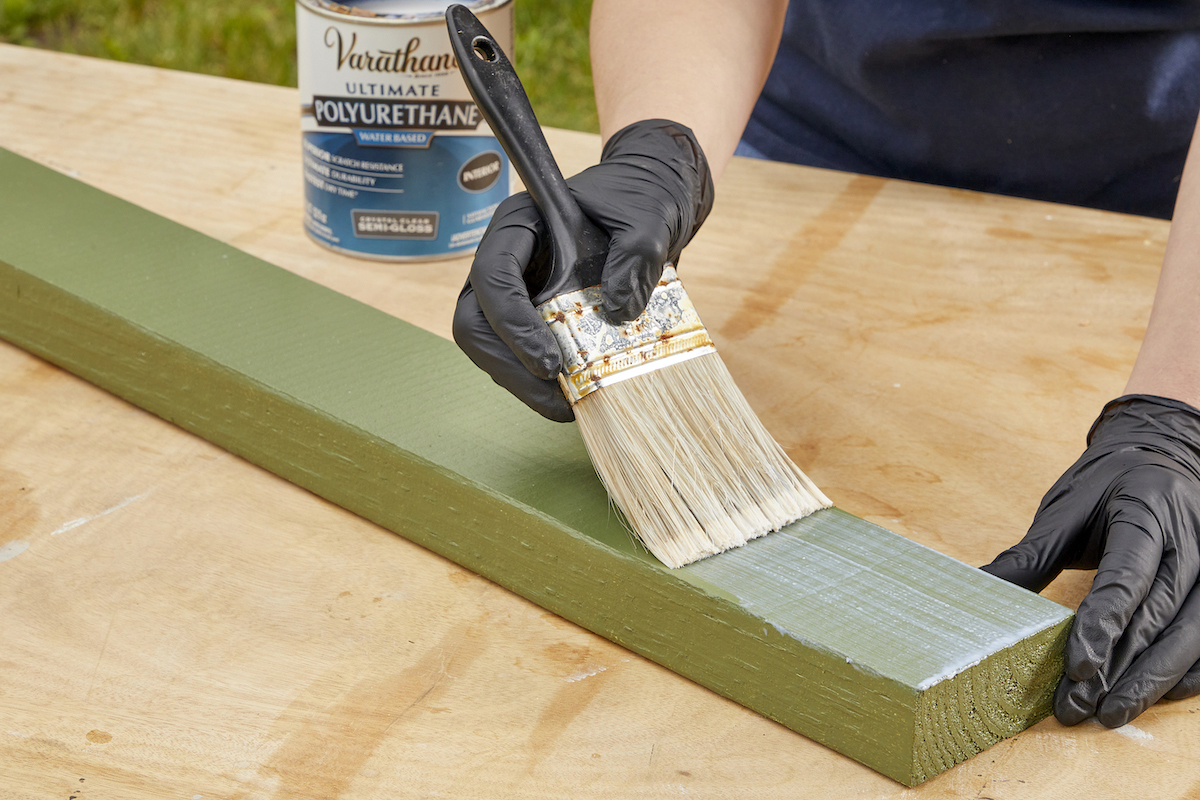
- Application Method: Primer and paint can be applied using brushes, rollers, or airless sprayers. Brushing is often preferred for working the product into the wood grain.
- Coats: Apply one coat of primer followed by two coats of high-quality exterior paint. Allow adequate drying time between coats as per the manufacturer's instructions. Do not apply thick coats, as this can lead to improper drying and performance issues.
- End Grains: Pay special attention to sealing all cut ends and end grains of the lumber. These areas are highly absorbent and are primary points for moisture ingress. Apply generous coats of primer and paint to these vulnerable spots.